The Google Nik Collection is a popular set of Photoshop add-on filters used by many photographers. I still use Nik filters, but I use them differently than I used to. When I was new at processing, I would apply the filters globally at full opacity. Now, I use them sparingly at relatively low opacity for local adjustments. I sometimes use Nik Filters to bring a little added texture and contrast into water, such as in the image below.
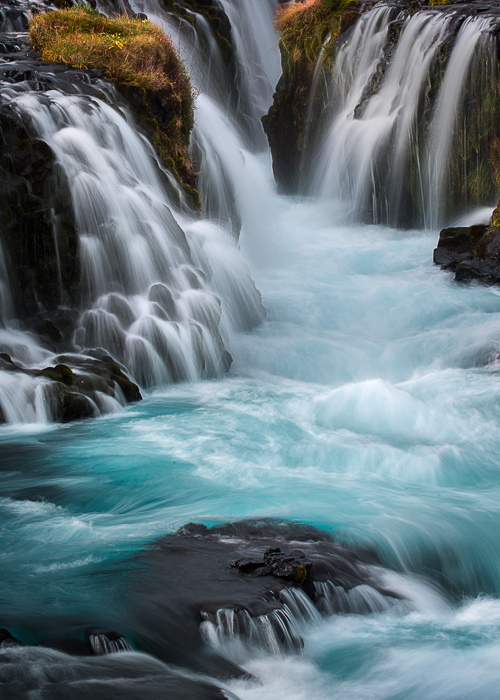
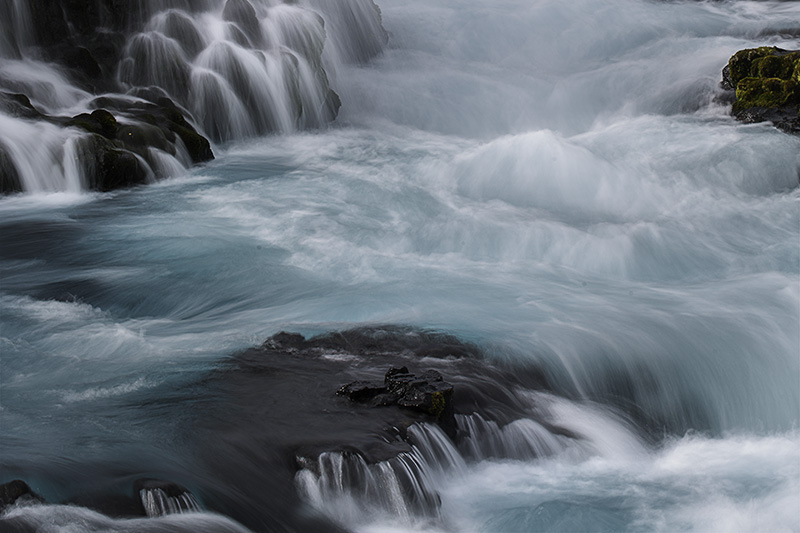
Inside Bruarfoss : Prints Available
Close up of a section of Iceland’s Bruarfoss.
For the above image, I used a Nik filter called “Dark Contasts” (part of Nik’s “Color Efex Pro” filter set) to enhance contrast of the water. Below are the steps I took to apply the filter. Note that I’ve de-saturated the water in the images below to focus attention on the texture for the purpose of this blog.
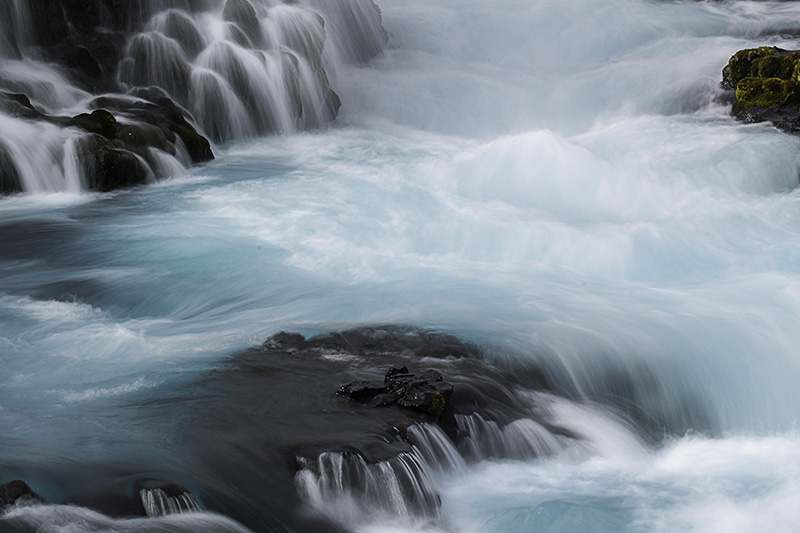
First, here is a close-up of the water prior to applying the filter.
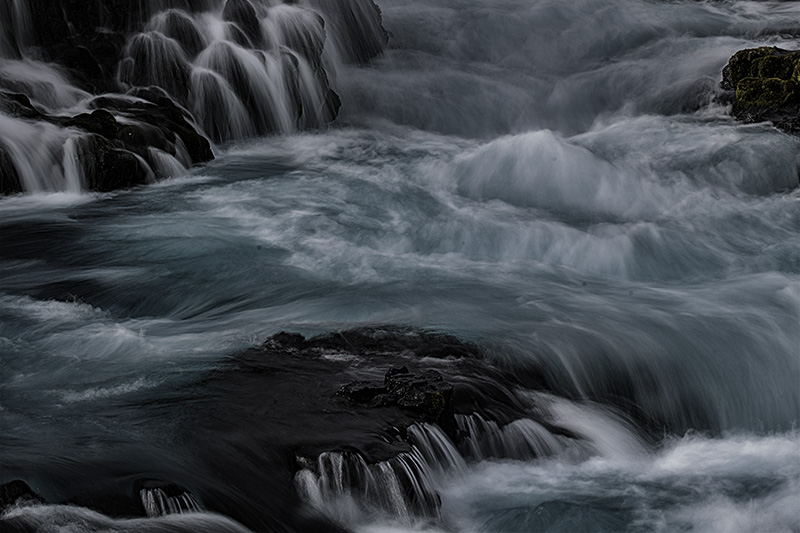
Next, I applied Nik’s “Dark Contrasts” filter. Running the filter created a new layer in Photoshop as pictured below. Notice that the effect is much too strong.
Next, I added a black mask to the layer and, using a feathered brush at 30% flow, painted white on the mask over the water. This resulted in the effect being applied to the rushing water and not being applied to the rest of the image.
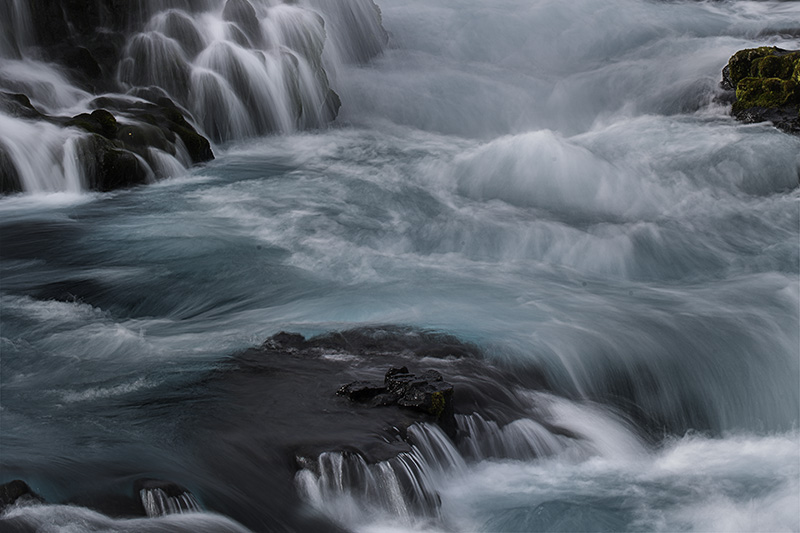
Lastly, I reduced the opacity of the Nik Filters layer to around 40%.
I use Nik Filters for many other adjustments and often use them at much lower opacity than 40%, usually around 15% and just in parts of the image. I often use Nik’s “Tonal Contrast” filter as an alternative to Dark Contrasts if I am looking for a less dark and gloomy effect.